Domain Verification for Custom Domains
So you have a custom domain - that's great news! Many sellers with custom domains promote their products and their online store with Facebook Ads, but before you can do that, you'll have to verify your domain.
Domain verification is necessary to run Facebook Ads, and with recent iOS 14 updates, verification allows you to properly set up tracking events so you can receive the best insights from your ads.
In this post, we walk you through how to verify your domain on both the Facebook Ads and Chip sides, so you can start running ads immediately. Check it out.
How to verify your custom domain
- Go to Facebook Business Manager > Brand Safety tab > click on Domains.
- Add the domain you want to verify.
- Select the DNS TXT record verification option and copy the code.
- Go to your Chip dashboard and go to the Domain tab.
- Select the domain you want to verify and click on Details.
- Enter the DNS code on the Facebook verification code field. Make sure to delete "facebook-domain-verification=" at the front of the DNS code.
- Click Save changes.
- Return to the Facebook domain verification page, and click “Verify Domain” (DNS could take about 30 minutes to be fully propagated).
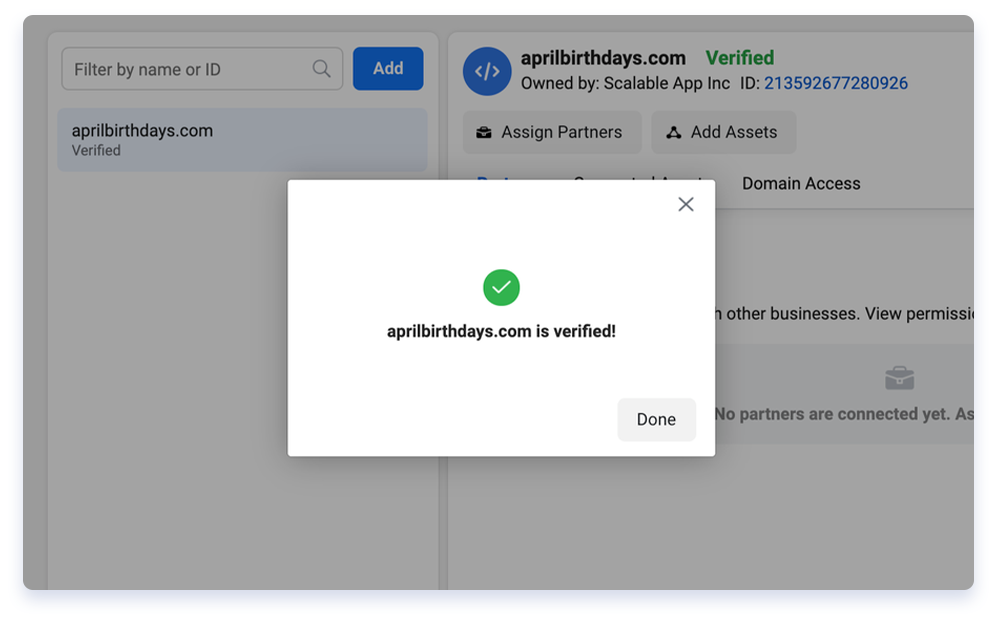
That’s it - you can now enjoy all the perks of a verified domain!
Create a Custom Domain
Go to Dashboard
© Copyright 2026 Chip Inc. All rights reserved.
En
Vi
Ar