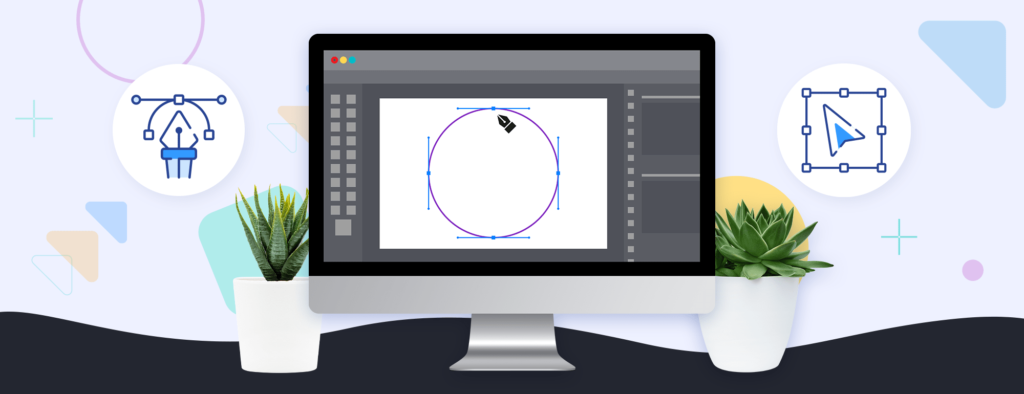
How to Create Artwork Like a Designer
Artwork is the first thing that will catch a potential customer’s eye. We all want to wear (and sell) something that helps us to express ourselves and makes us feel unique. Creative and relatable artwork will definitely set you apart from the average-looking t-shirt and accessories.
Learn about everything you need to know to meet Chip’s highest quality standards. Let’s get started!
Understanding design templates
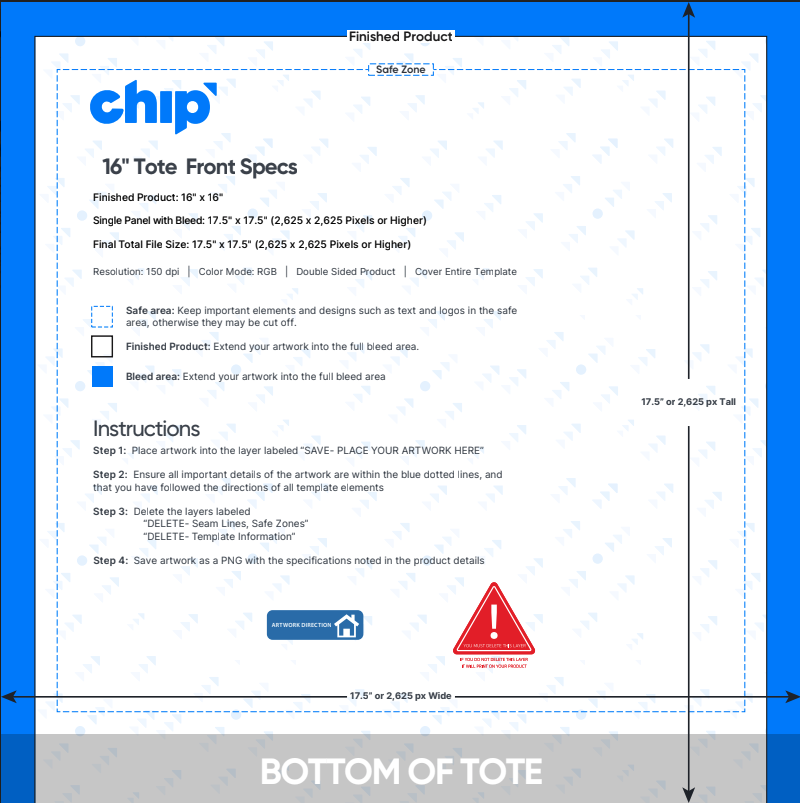
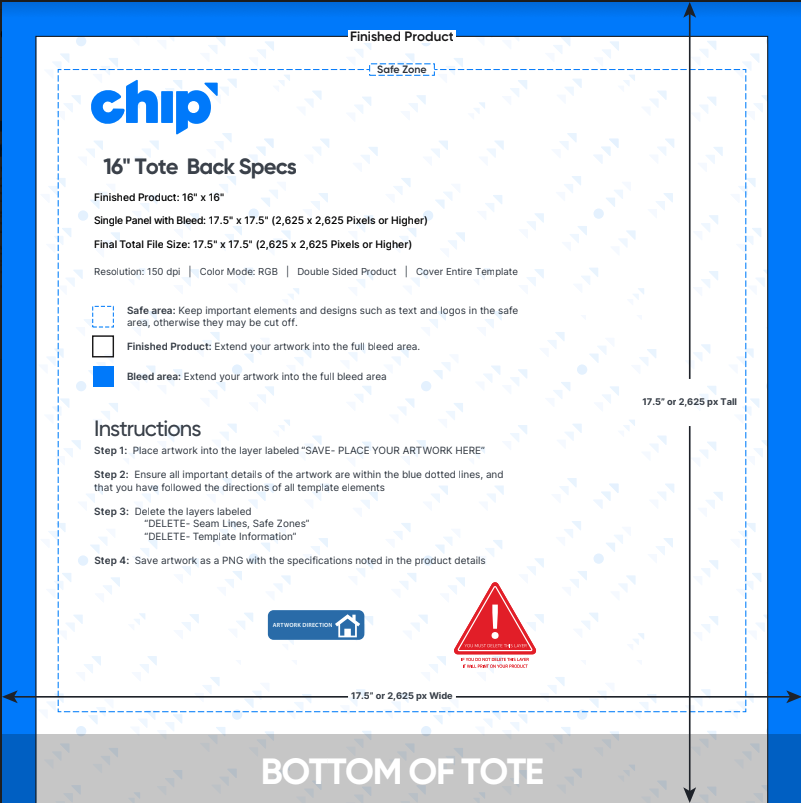
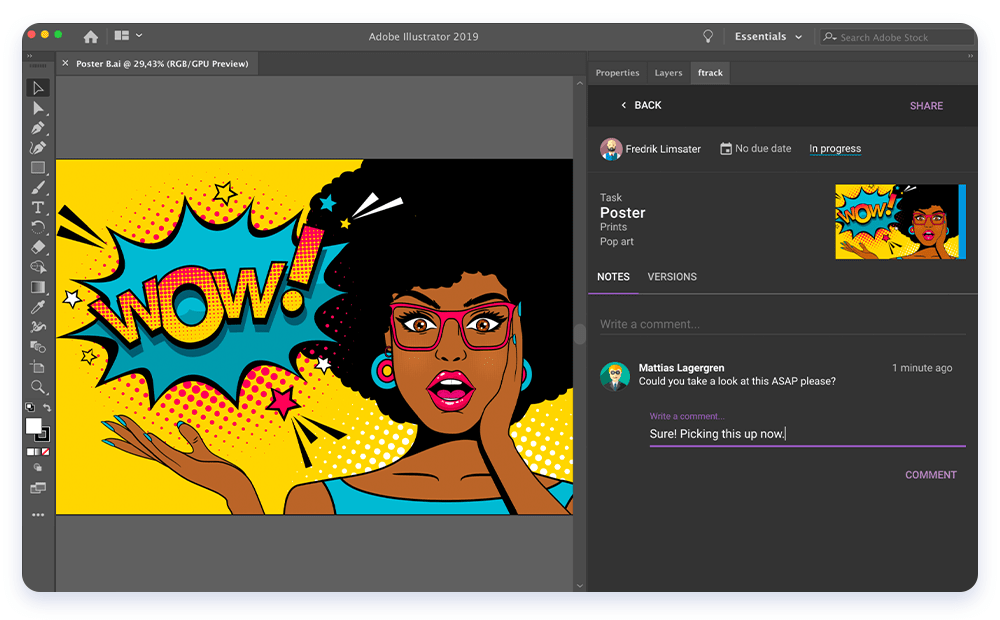
Every product comes with one or several design templates, depending on whether the product will be printed on one or more sides. Some products, for example, shoes or other apparel pieces, can have a front, back, left, or right side design templates. All our design templates require Adobe Illustrator to open. Here, we break down each element of the templates.
- Dimensions: You’ll find a horizontal and vertical line indicating the width and height of the product as well as the required image resolution.
- Finished Product: This is the printed area that will be visible. Find the required resolution here.
- Single Panel with Bleed: Your design should be extended all the way to this area.
- Safe Area: Keep the most important elements of your artwork in this area. You don’t want them getting distorted.
- Final Total File Size: Find the real product dimensions as well as the required image resolution.
- Resolution: Resolution should be set at a minimum 150 DPI.
- Color Mode: Make sure that you are working with RGB colors.
- Double-sided product: This note indicates that the product will be printed on both sides.
- Cover entire template: These are instructions to extend the design all over the product template.
Last but not least, follow the instructions on the design template to ensure your designs come out looking great.
Front design template example
Back design template example
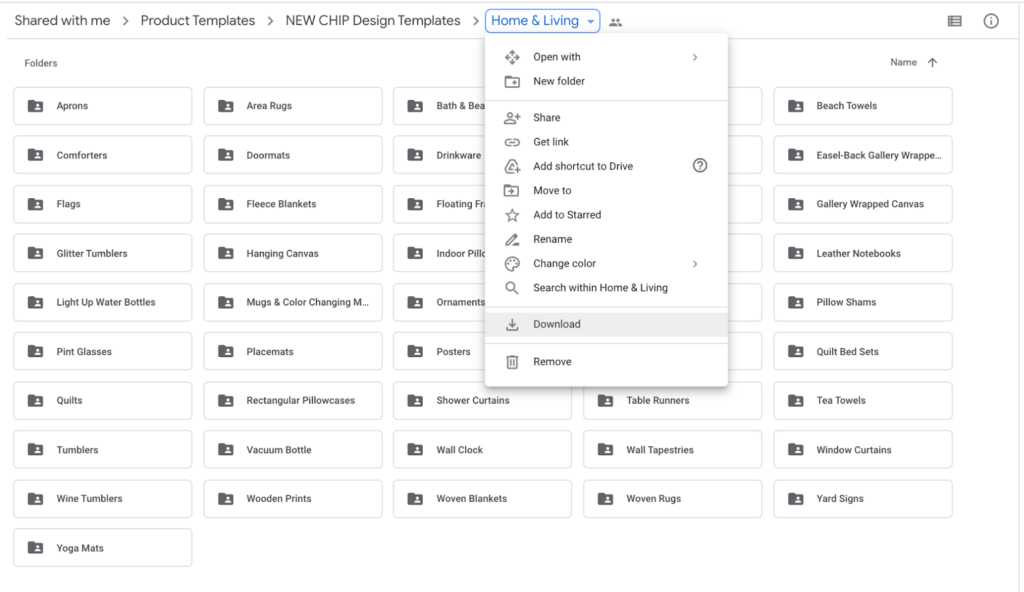
Where/how to download design templates
Download design templates for individual products or download the entire folder of templates for a category.
To download individual design templates, simply click into the product you want and download the Illustrator file. Follow these steps to download the entire folder:
- Select one of the category templates folder above.
- Navigate to the top menu section and click the down arrow next to the folder name.
- Click download to access the compressed folder.
- Once downloaded, unzip the compressed folder to access the design templates.
How to select the right design tools
If you’re no design expert, relax - there’s no need to panic. You can use one of the following tools:
Canva
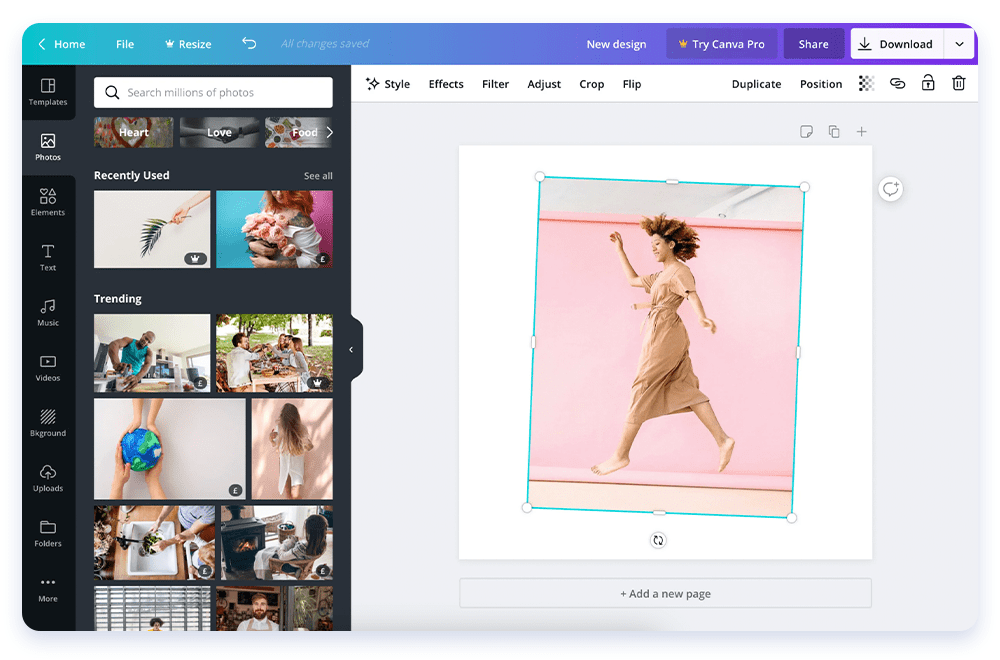
Expertise level: Beginner
Cost: $12.95 USD monthly. Free version available.
Pros
- Online tool
- Excellent tool for rookies
- Cross-browser compatibility
- Allows for team collaboration
Cons
- Only Canva Pro users have access to some basic graphic designing features like alpha transparency for PNG images.
- Doesn’t have local file storage and you won’t get a source file.
- Designs and templates are often overused, so your artwork might not be as unique.
Gravit
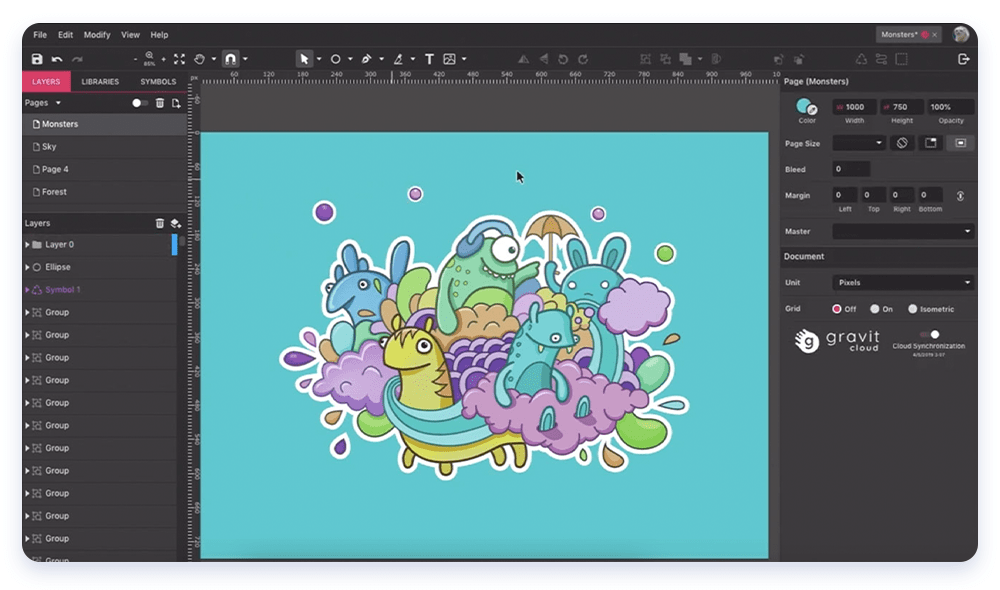
Expertise level: Beginner
Cost: Pro version $99.00-$49.00 /year. Free version available.
Pros
- User friendly and easy to learn
- Online tool
- No need to download a program
- Vector friendly
Cons
- Changes constantly. At first, it was open-sourced so users could modify the code, then it switched to closed-sourced
- Difficult to manipulate designs to the highest quality
- Users need an ongoing online connection to use it
Inkscape
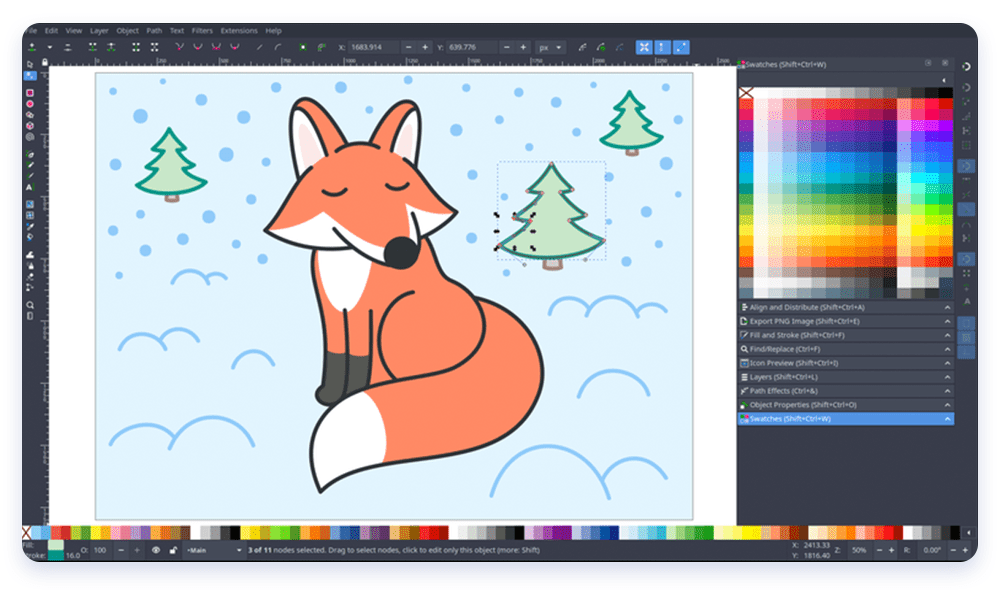
Expertise level: Intermediate
Cost: Free
Pros
- Best free alternative to Adobe Illustrator
- Creating knots, curves, and modifying lines is easy
- Can open and modify PDF and AI files to continue working on them
- Great for vector graphics such as logos and icons
Cons
- Need to download software
- Users mention the interface can be at times glitchy
- Interface layout can be messy
Vectr
Expertise level: Intermediate
Cost: Free
Pros
- Great for working with vector images
- Allows for collaboration
- Includes an image transparency tool
- Offers a variety of built-in templates
Cons
- Need to download software
- Loading time might be slow at times
- No import file functions
- Must have an active internet connection
Photoshop/ Illustrator
Expertise level: Expert
Cost: Starts at $19.99 monthly for private users
Pros
- Allows for in-panel editing
- Zero resolution issues
- Ideal for professional print-ready images
- Compatible with other Adobe products
Cons
- Not for beginners
- The subscription plans may be a little pricey
- Requires a learning curve
- Software requires a lot of space
Artwork best practices
- Use contrasting colors. Your artwork’s color shouldn’t match the product’s color. Choose colors that make the others pop.
- Watch out for typos. Double-check your artwork’s messages to avoid misspellings and grammatical errors.
- High resolution is the only resolution. Your artwork shouldn’t start blurry or it will be printed blurry. Make sure you follow the recommended product resolution for your design to look impeccable in real life once it’s printed.
- Save your artwork in PNG format. Save your artwork in a PNG format following the specifications in the product details.
- Deliver original artwork. Only upload artwork you own to avoid your campaign getting taken down due to copyright infringements.
Learn more in our Artwork Design Guide.